Gmail Notifier Pro can be registered as default program for e-mail in Windows. When registered as default e-mail program in Windows, the task of sending e-mail attachments from Windows, Office or any other applications becomes easy.
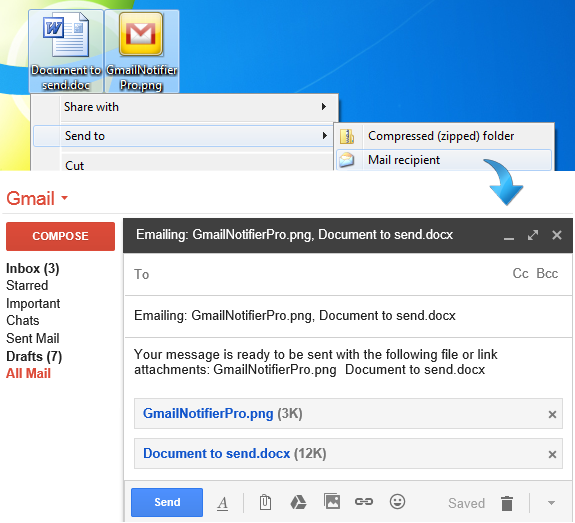
The screenshot illustrates the Send To feature that is available for all files and folders in Windows. By selecting one or many files, selecting Send To - Mail recipient, Gmail Notifier Pro Gmail can be opened in the web browser with a new message prepared, including the selected files as attachments. This integration increases the productivity for Gmail users.
Gmail Notifier Pro also have a built-in e-mail composer that can be used for sending messages. The Send To feature can either be used with Gmail in the web browser or the Gmail Notifier Pro composer.
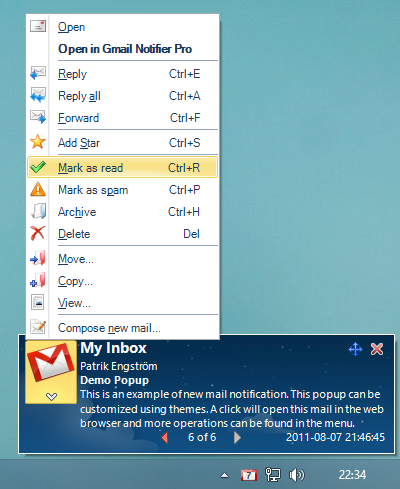
Gmail Notifier Pro also supports mailto-link integration, and can either launch the Gmail composer or the Gmail Notifier Pro composer when a mailto-link is clicked.
Supports 32-bit & 64-bit Windows XP, Windows Vista, Windows 7, Windows 8 and Windows 10.
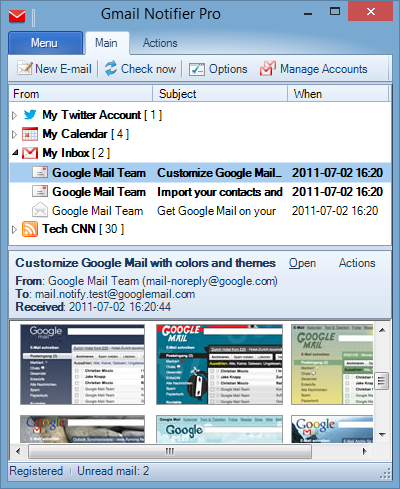
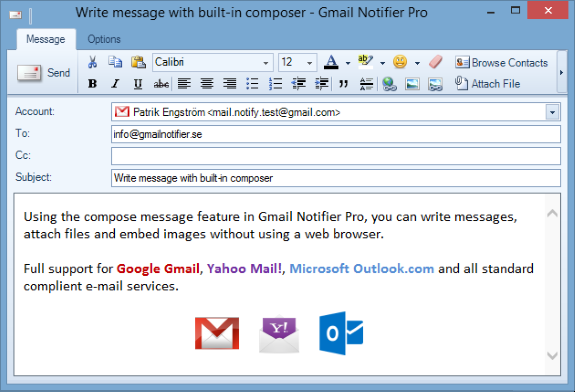
Gmail Notifier Pro can can be used as an e-mail client, with support for all common message operations, including send e-mail, reply, preview and save attachments, mark as read or delete messages.
The screenshot illustrates the e-mail message composer in Gmail Notifier Pro.
Gmail Notifier Pro has preconfigured settings for all major e-mail service providers, making it easy to get started. Gmail Notifier Pro can also be used with any standard IMAP or POP mail server. For Google, messages can be accessed using Atom in addition to IMAP.
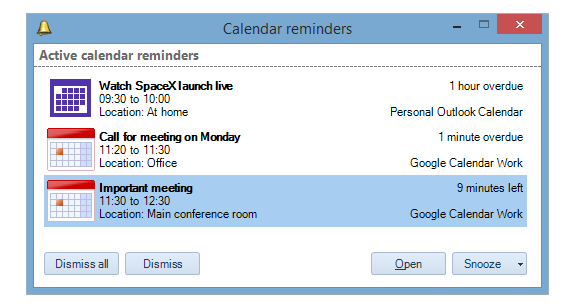
Gmail Notifier Pro can connect to Google Calendar and Microsoft Outlook.com Calendar in order to get information about calendar events and display reminders.
The screenshot illustrates the calendar reminders. These reminders will popup on the Windows desktop to notify about the events.